Find out how to make an aftershave product that contains no harsh chemicals and synthetic fragrances and is suitable for your skin! This recipe will help you create a DIY essential oil aftershave recipe where you can personalize the scent with essential oils and enjoy the benefits of using gentle natural ingredients on your skin.
Aftershave soothes, nourishes, and protects the skin from irritation after shaving. It has been used for centuries to close the pores, tighten the skin, and provide a refreshing scent. Aftershave is not just limited to men; anyone who shaves hair from their skin can also benefit from it.
There are many different forms of aftershave, from lotions, balms, or gels to toners or oils; they cater to your preferences and skin types and are very easy to make at home with natural ingredients!
How to make an aftershave with natural ingredients and essential oils? Common ingredients found in aftershaves include witch hazel, a natural astringent that helps to reduce inflammation and soothe the skin. Aloe vera is another popular ingredient known for its hydrating and healing properties. Essential oils, such as lavender or sandalwood, provide a pleasant scent and offer additional benefits to the skin.
Whether you make this for yourself or as a personalized gift for those difficult-to-buy people, making simple and natural beauty and body care products is easier than you think!
DIY Essential Oil Aftershave Lotion!
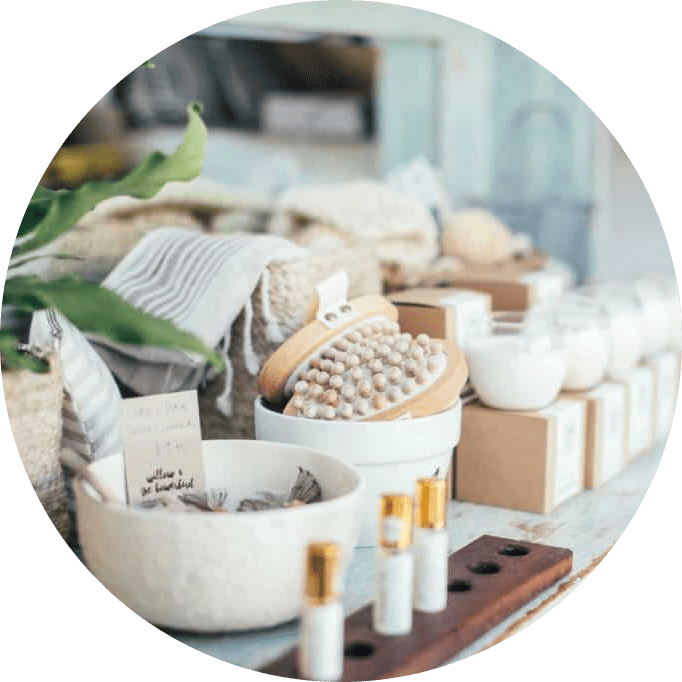
When gathering ingredients, it’s essential to choose high-quality options. Look for reputable brands that offer pure and organic ingredients. Online retailers, health food stores, and local apothecaries are great places to find these ingredients.
Feel free to experiment with carrier combinations and essential oils to find your preferred scent. This is where the fun begins!
It would be best if you had a four-ounce glass bottle,
- One oz of witch hazel.
- One oz of aloe vera
- One oz of carrier oil.
- One tsp of vegetable glycerin.
- Six drops of vitamin E oil.
- Five drops of skin-friendly essential oils.
- Rosewater to fill.
Now that you have gathered all your ingredients, it’s time to create your DIY essential oil aftershave. Follow these step-by-step instructions:
1. Start by choosing your carrier oil(s). Combine them in a clean container, ensuring the total volume matches your desired amount.
2. Add the desired drops of essential oils to the carrier oil(s). Remember to follow the recommended dilution ratio mentioned earlier.
3. Mix well using a clean spoon or a glass stir rod. This will ensure all the oils are thoroughly blended.
4. Test the scent and adjust as needed. You can add more essential oils if you prefer a more potent fragrance or reduce the amount if it’s too overpowering.
5. Once you are satisfied with the scent, transfer the mixture to an amber glass bottle or container for proper storage.
Then add in;
1. Witch hazel: Known for its astringent properties, witch hazel can help tighten the pores and soothe irritated skin.
2. Aloe vera gel: This ingredient offers cooling and moisturizing benefits, making it perfect for soothing post-shave irritation. You can buy aloe vera gel or use it fresh; it is easy to make!
3. Vitamin E oil: Vitamin E is a powerful antioxidant that can help nourish and protect the skin from free radicals.
4. Glycerin: Adding glycerin can help retain moisture in the skin, leaving it feeling smooth and hydrated.
Experiment with different combinations of these ingredients and adjust the measurements according to your preferences!
Choosing Carrier Oils For Aftershave!
Carrier oils help nourish and protect the skin in this aftershave recipe; they are also necessary to support or ‘carry’ the essential oils. Choosing the right carrier oil depends on your skin type and desired benefits. Here are a few suggestions:
1. Jojoba oil: This oil closely resembles the natural oils produced by our skin, making it an excellent choice for most skin types. It’s moisturizing, non-greasy, and easily absorbed.
2. Argan oil: Known as ‘Liquid gold,’ it is rich in vitamin E, which helps nourish and soften the skin. It’s suitable for all skin types, dehydrated and sensitive skin.
3. Coconut oil: Known for its antimicrobial properties, it can help soothe and protect the skin. It’s great for those with acne-prone or oily skin. Make sure to use fractionated coconut oil to keep the aftershave liquid.
Consider additional properties that carrier oils may offer. For example, if you have dry or irritated skin, you might choose a carrier oil with other moisturizing or soothing properties. Try these!
Selecting Essential Oils For Aftershave!
Essential oils add fragrance to your DIY aftershave and offer various benefits to your skin. Here are a few popular essential oils known for their refreshing and calming properties:
1. Peppermint oil: Its cooling sensation can soothe razor burn and refresh your skin. Peppermint oil also has excellent hair growth benefits and benefits hair follicles, whether on the head or the face!
2. Lavender oil: The calming and antibacterial properties make it perfect for soothing and healing the skin after shaving.
3. Tea tree oil has natural antiseptic properties and can help prevent razor bumps and ingrown hairs.
Remember, essential oils are highly concentrated and should always be diluted before skin application. A general rule of thumb is to use 3-5 drops of essential oil per 1 ounce (30 ml) of carrier oil.
Feel free to experiment with essential oil combinations to create your signature scent. Some popular varieties include;
- Lavender and peppermint,
- Tea tree and eucalyptus,
- Cedarwood and bergamot.
Storage and Usage Tips
To ensure your DIY aftershave stays fresh and compelling, follow these storage and usage tips:
1. Store your homemade aftershave in an amber glass bottle or container. This will help protect the oils from light and preserve their potency.
2. Keep the bottle cool and dry, away from direct sunlight or heat sources.
3. Shake the bottle well before each use to mix the oils properly.
4. Rinse your face with warm water to remove leftover shaving cream or debris after shaving. Pat your skin dry with a clean towel.
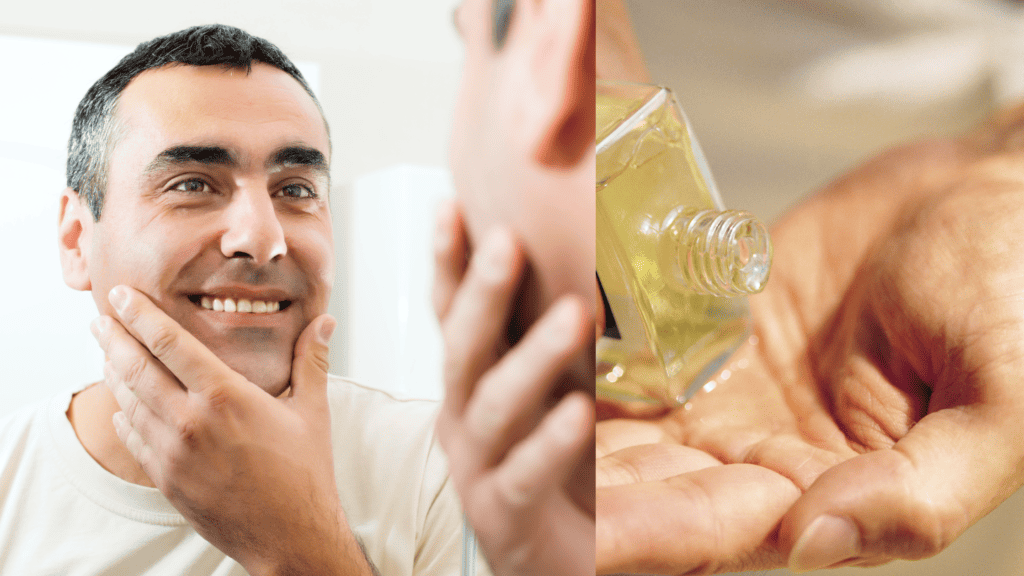
5. Apply a small amount of your DIY aftershave to your palms and gently massage it into your skin. Focus on the areas needing extra attention, such as the neck or jawline.
6. Allow the aftershave to absorb into your skin before adding additional products.
Conclusion:
Congratulations on creating your very own DIY essential oil aftershave recipe! You now have a natural and personalized aftershave that is gentle on your skin. Remember, this recipe is just a starting point; you can always tweak it to suit your preferences.
If you are growing out a beard or want to maintain and grow it even better, try this beard oil recipe!
We would love to hear about your experiences with this DIY recipe. Have you tried different essential oil combinations? Which carrier oils worked best for your skin?
This post contains affiliate links. If you purchase through these links, we may earn a small commission, which will not affect your sales.
Glowitgreen.com is a member of the Amazon affiliate link program.