Recently, oat milk has gained immense popularity as a delicious and nutritious dairy-free alternative. Not only is oat milk loved for its creamy texture and mild taste, but it is also a sustainable and eco-friendly choice.
Making oat milk at home allows you to customize the flavor and sweetness and is cost-effective. While you can buy oat milk, it is easy to make at home and is excellent for food and beauty recipes.
Discover the step-by-step process of making oat milk, from gathering the ingredients and equipment to storing and using your homemade creations!
How To Make Oat Milk!
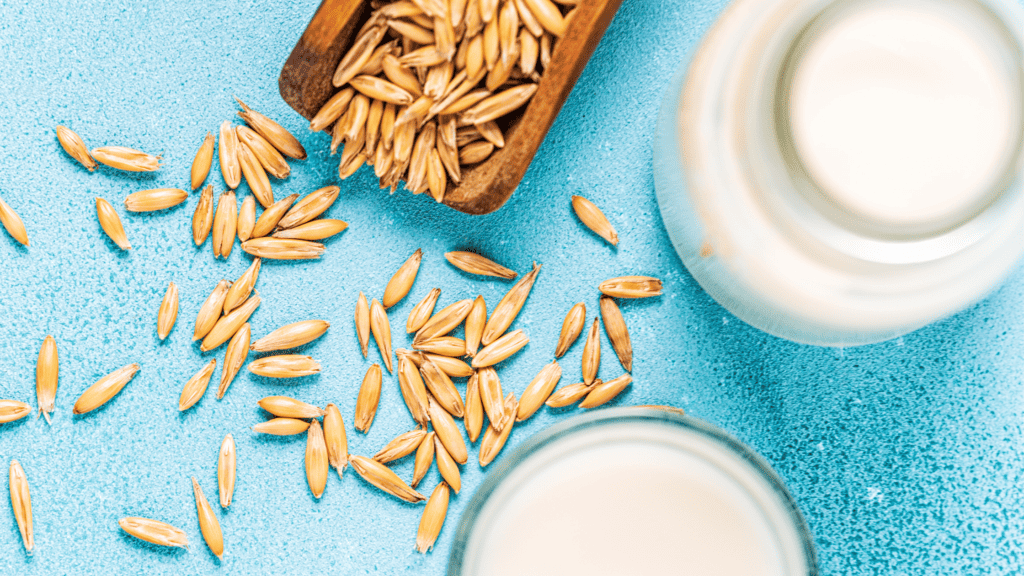
Oat milk is simple to make and cost-effective. It is an excellent substitute for cow’s milk in food recipes and can also be used in DIY beauty recipes as it has fantastic skincare benefits.
Ingredients For Oat Milk.
You will need;
Choose high-quality rolled oats that are free from additives or preservatives. Organic oats are a great option.
- Water
Use filtered water for the best results. It helps to improve the overall taste and texture of the oat milk. Use regular filtered water from your fridge, or buy a water filter jug!
- Sweeteners.
Sweeteners are optional. Add natural sweeteners like dates, maple syrup, or honey if you prefer sweeter oat milk. Experiment with different options to find your favorite.
- Flavorings (optional)
To enhance the flavor of your oat milk, you can add ingredients like vanilla extract, cinnamon, or cocoa powder. Get creative and try different flavor combinations!
Equipment For Oat Milk.
You will need;
- Blender.
A high-speed blender is ideal for achieving smooth, creamy oat milk consistency. However, any blender will work.
- Nut milk bag or cheesecloth.
These will strain the blended oat mixture and separate the milk from the pulp. A fine-mesh sieve can also be used as an alternative.
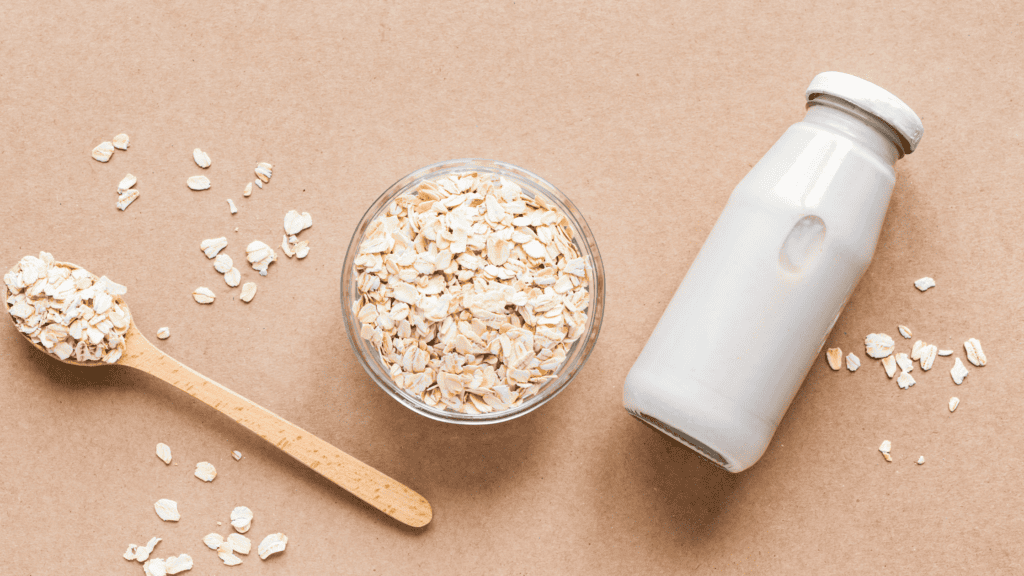
How To Prepare Oats For Oat milk
Before blending the oats, preparing them properly to remove any impurities or unwanted flavors is essential.
- Rinse the oats.
Place the rolled oats in a fine-mesh sieve or colander and rinse them under cold water. This step helps to remove any dust or debris.
- Soak the oats.
Transfer the rinsed oats to a bowl and cover them with water. Allow them to soak overnight or for at least 30 minutes. Soaking the oats softens them, making blending and extracting the milk’s full flavor easier.
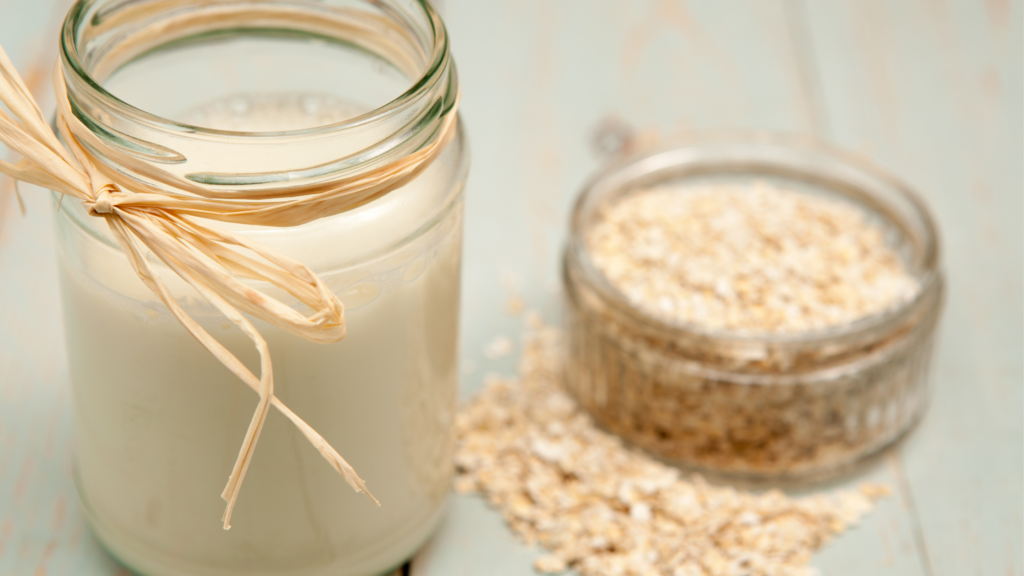
Blending and Straining Oat milk.
Once the oats are adequately soaked, it’s time to blend them into a creamy mixture and strain out the milk.
- Drain and rinse the soaked oats.
- Blend with water.
Combine the soaked oats with fresh water in a blender. The general ratio is 1 cup of oats to 3-4 cups of water, but feel free to adjust according to your desired consistency. Blend on high speed for about 1-2 minutes until the mixture becomes smooth and creamy.
- Strain the mixture.
Place a nut milk bag or cheesecloth over a large bowl or pitcher. Pour the blended oat mixture into the bag or cloth, allowing the milk to strain through while capturing the pulp. Gently squeeze the bag or cloth to extract as much milk as possible. The leftover pulp can be used in various recipes, such as adding it to smoothies or baking.
- Sweetening and Flavoring (Optional)
Now that you have the base oat milk, you can personalize it by adding sweeteners and flavorings.
Add natural sweeteners like dates, maple syrup, or honey if you prefer sweeter oat milk. For dates, soak them in hot water for a few minutes to soften, then blend them with a small amount of water before adding to the oat milk. Start with a small amount and adjust to your taste.
- Flavorings.
To enhance the flavor of your oat milk, consider adding a touch of vanilla extract, a sprinkle of cinnamon, or even a teaspoon of cocoa powder. Experiment with different combinations to find your favorite flavor profile.
- Storing and Using Oat Milk
Congratulations! You have successfully made your homemade oat milk. Now, let’s discuss how to store and use it.
- Storage.
Transfer the oat milk to a clean, airtight container and refrigerate it. Homemade oat milk can typically be kept in the refrigerator for 5-7 days. Shake well before each use, as some separation may occur.
- Usage.
Oat milk is versatile and can be used in various recipes. It is an excellent addition to smoothies, coffee, tea, and baked goods.
You can also use it as a base for homemade ice cream or a dairy substitute in soups and sauces. Get creative and explore the many possibilities!
Add Oatmilk to your beauty DIY recipes to get glowing skin. It is also an excellent skin softener and helps dehydrated or sun-damaged skin, so add it to bath recipes!
Conclusion.
Making homemade oat milk is a simple and rewarding process. Following the steps outlined in this guide, you can create a creamy and delicious dairy-free alternative that suits your taste preferences.
Not only does making oat milk at home allow you to customize the sweetness and flavorings, but it also ensures you know exactly what goes into it.
Save money on store-bought oat milk and have fun creating your own. Oat milk tastes delicious, is nutritious, and has skincare benefits; try bathing in it to soothe dehydrated, irritated, or sensitive skin with this soothing oat milk bath recipe!!
This post contains affiliate links. If you purchase through these links, we may receive a small commission, not affecting your sale.
Glowitgreen.com is a member of the Amazon affiliate program.
